I created a note-taking tool for Genius’ video team. It was used for interviews, like this one with Mariah Carey, and this one with Jonah Hill. It’s a desktop web app built with React and Redux, and has two main functions: to provide a fast and simple writing surface for a shoot’s producer, and to show a prompt to its interviewer.
Using the producer interface and the sync’d interviewer prompt.
Some Context
Genius’ biggest interview-format show was For The Record, where the host, Rob, sat down with guests to have a conversation about music. During a typical shoot there are up to eight people sitting behind the cameras, quietly working as the interview unfolds.
The producer is responsible for the episode. Like those on camera, they have to improvise, shaping the conversation and making sure it comes to a conclusion on time. They communicate with Rob by sending notes, or prompts, to an old computer monitor that he can see behind the guests. The producer also oversees the editing process, and takes separate, private notes during an interview that are used later by editors. These producer notes mark the time that certain topics were discussed, and where to cut clips for social media e.g. “25:15 They’re talking about the Kylie Jenner effect in clubs — good clip for Instagram”.

The monitor.

Jeff at the producer station.

The producer’s view.

The interviewer’s view.
![In use, showing the prompt “Let’s start to wrap. Was the album worth the wait? End on that note.” From, ,[object Object],.](/static/videonotes_on_shoot_producer_1_750w-2e1c0ac807c31b23f5cb2874639dca89.jpg)
In use, showing the prompt “Let’s start to wrap. Was the album worth the wait? End on that note.” From this moment in the episode.
The Status Quo
This project’s predecessor was a combination of Google Docs and a countdown clock website. The producer would bring two laptops to a shoot: one for the interviewer’s monitor, with a doc open on the bottom of the screen and a countdown clock on the top, and one for their desk, with two docs open side-by-side: one connected to the interviewer’s and the other for their own notes.
This setup was tedious and required one too many laptops. Rote tasks like recording the current time with each note took away from the producer’s ability to react quickly. Irrelevant UI took up 28% of the interviewer’s monitor, and the font size for notes had to be manually adjusted to fit the available space.

The producer’s view in the previous system. The doc on the left is connected to the doc that’s displayed on Rob’s monitor. The doc on the right is for the producer’s notes.

The interviewer’s view in the previous system.
The first goal for the new note taking tool was to consolidate the previous workflow into one web app, running from one laptop.
Instead of connecting two laptops together over the internet, the new tool connects two browser windows on one laptop. The interviewer’s monitor is plugged into the producer’s laptop with a long HDMI cable. Two windows are opened and set to fullscreen mode, one on each display. Both windows initially display the same default screen, but once the producer clicks “begin recording” in one, the other automatically switches to “interviewer mode”, displaying the time elapsed and any active notes.
How Are The Windows Switching Modes?
These windows are communicating with BroadcastChannel. Every new window broadcasts the message `doesProducerWindowExist` and listens for a response — if another window is in “producer mode”, which means a recording is in progress, it responds with `producerWindowExists`, switching all other instances to “interviewer mode”. The same thing happens when a new recording is started.
Broadcasting `producerWindowExists` on click.
Responding to `producerWindowExists` by switching to interviewer mode.
Design Details
Everything in this app is guided by the timer. The timer is Rob’s cue for moving through his questions. Every note is automatically time-stamped with a start and end time. Paused usually means wrapped, since the cameras never pause, and 00:00:00:00 means a clean slate.
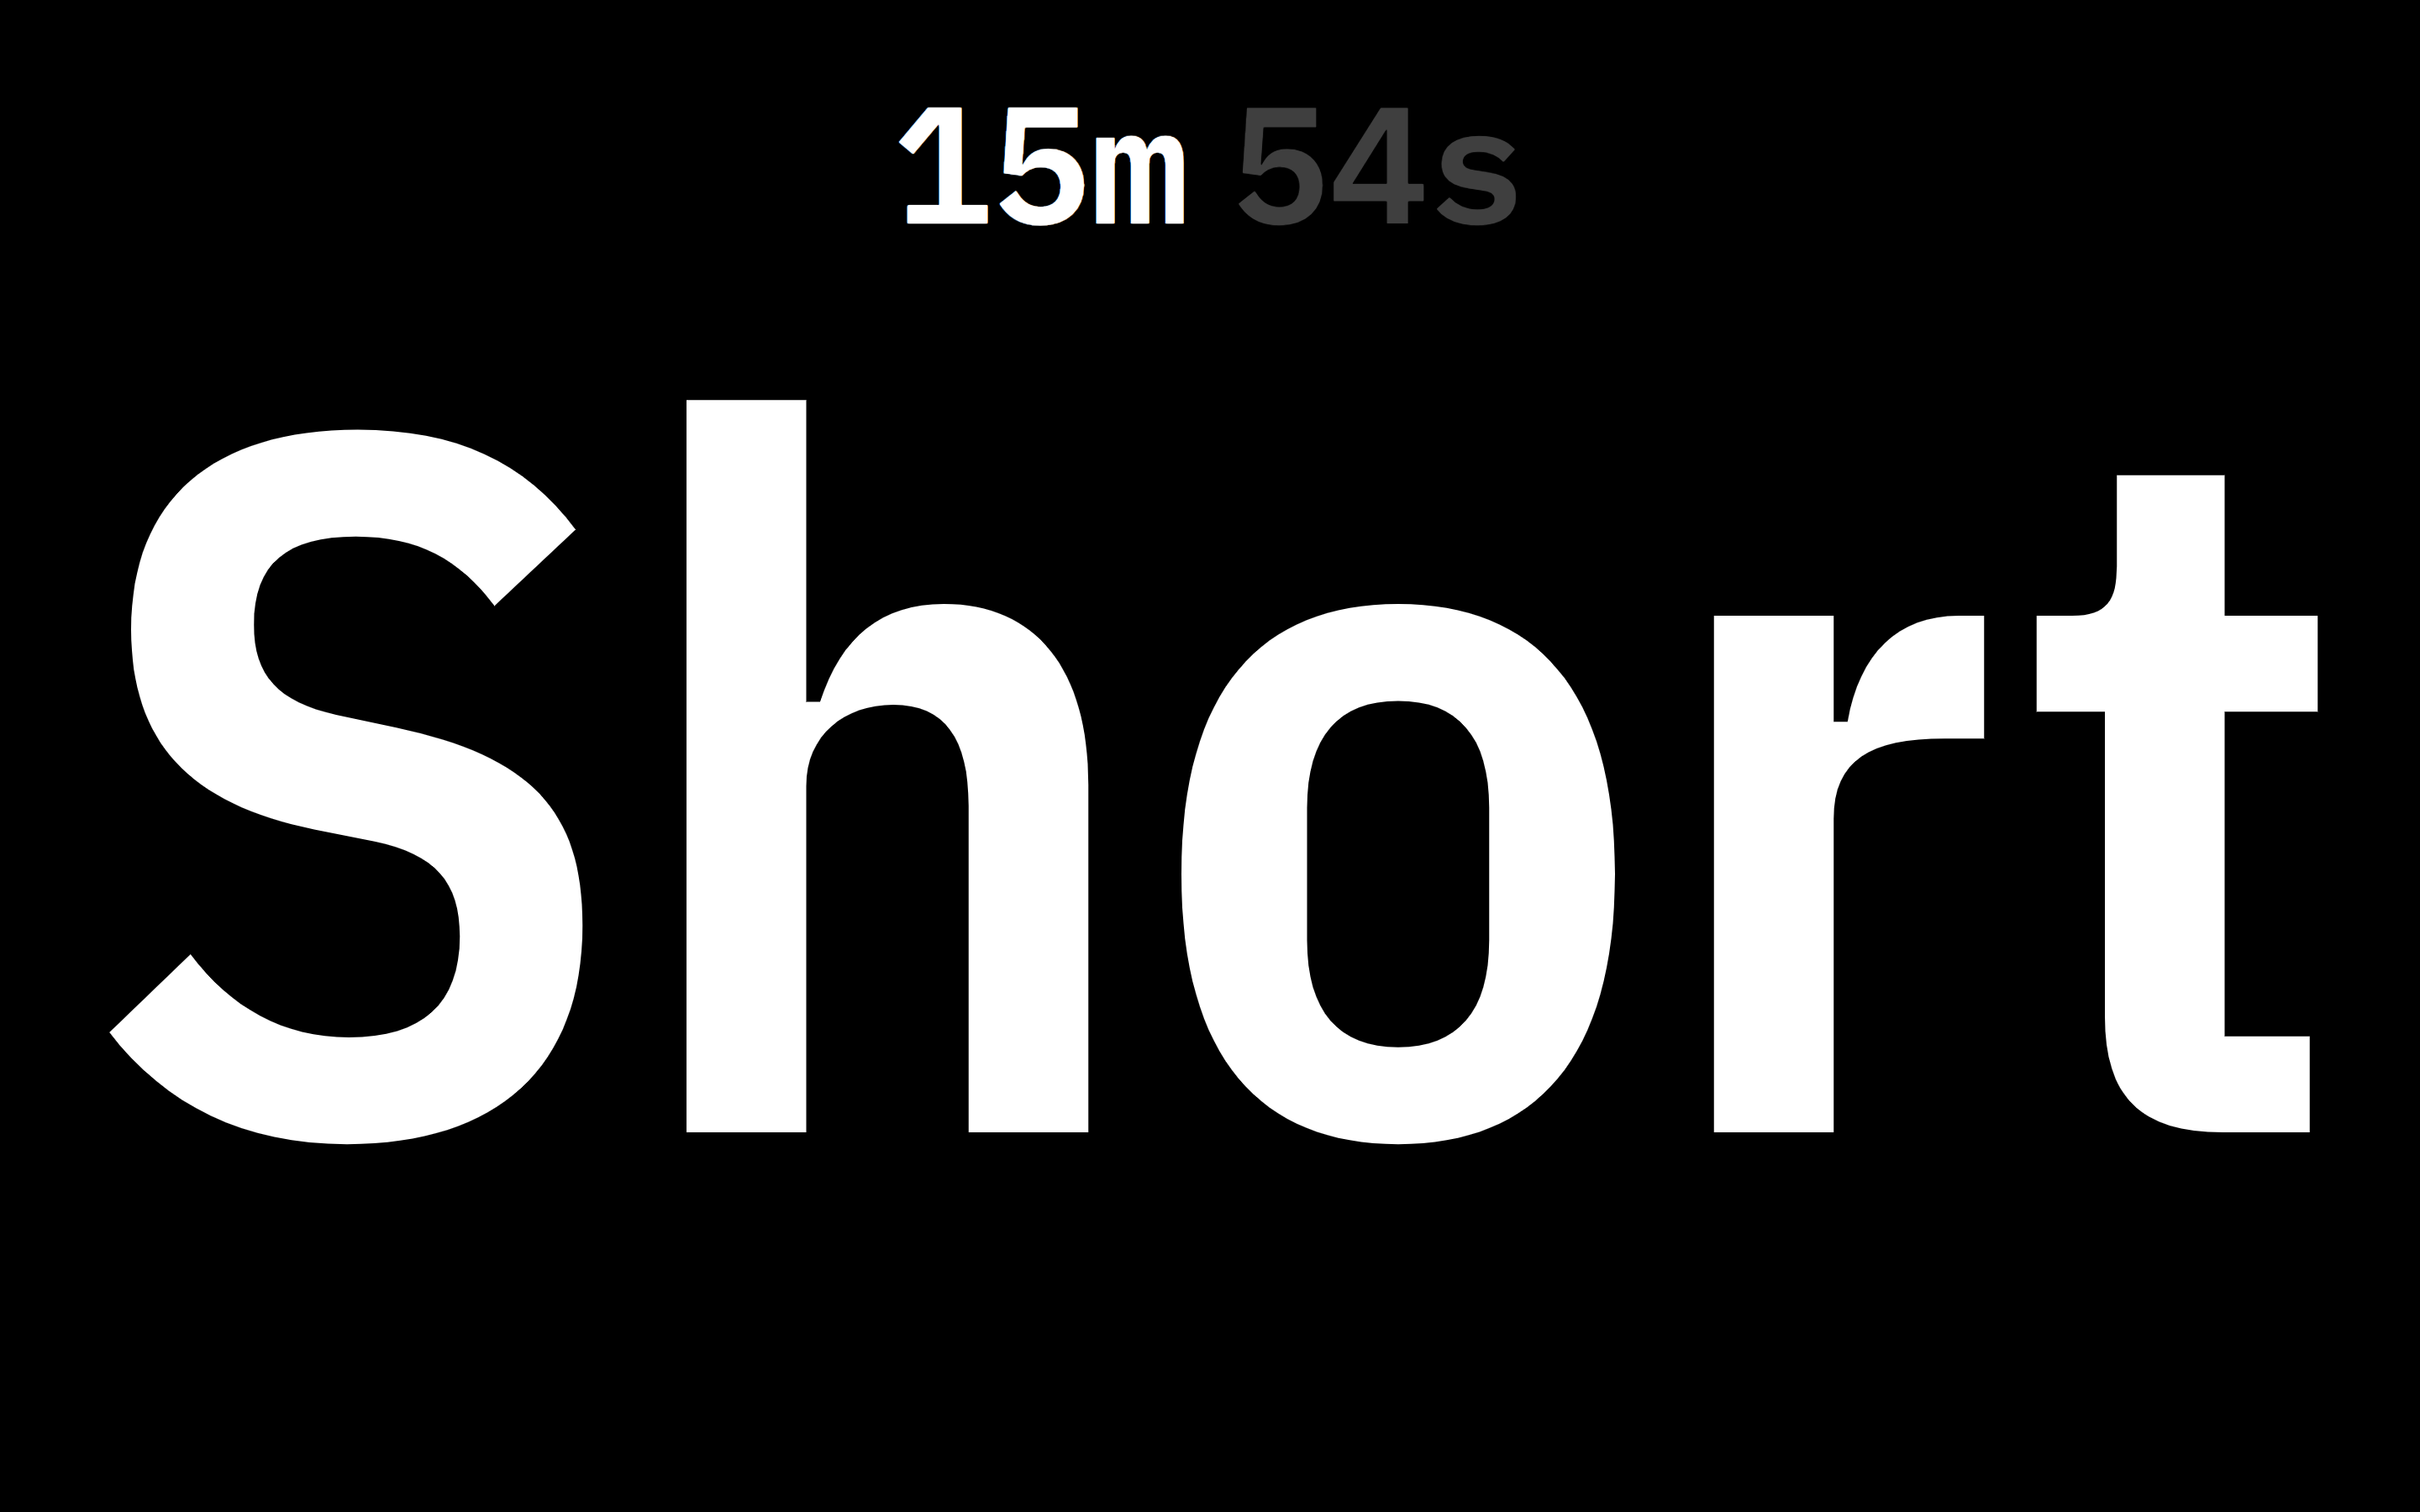
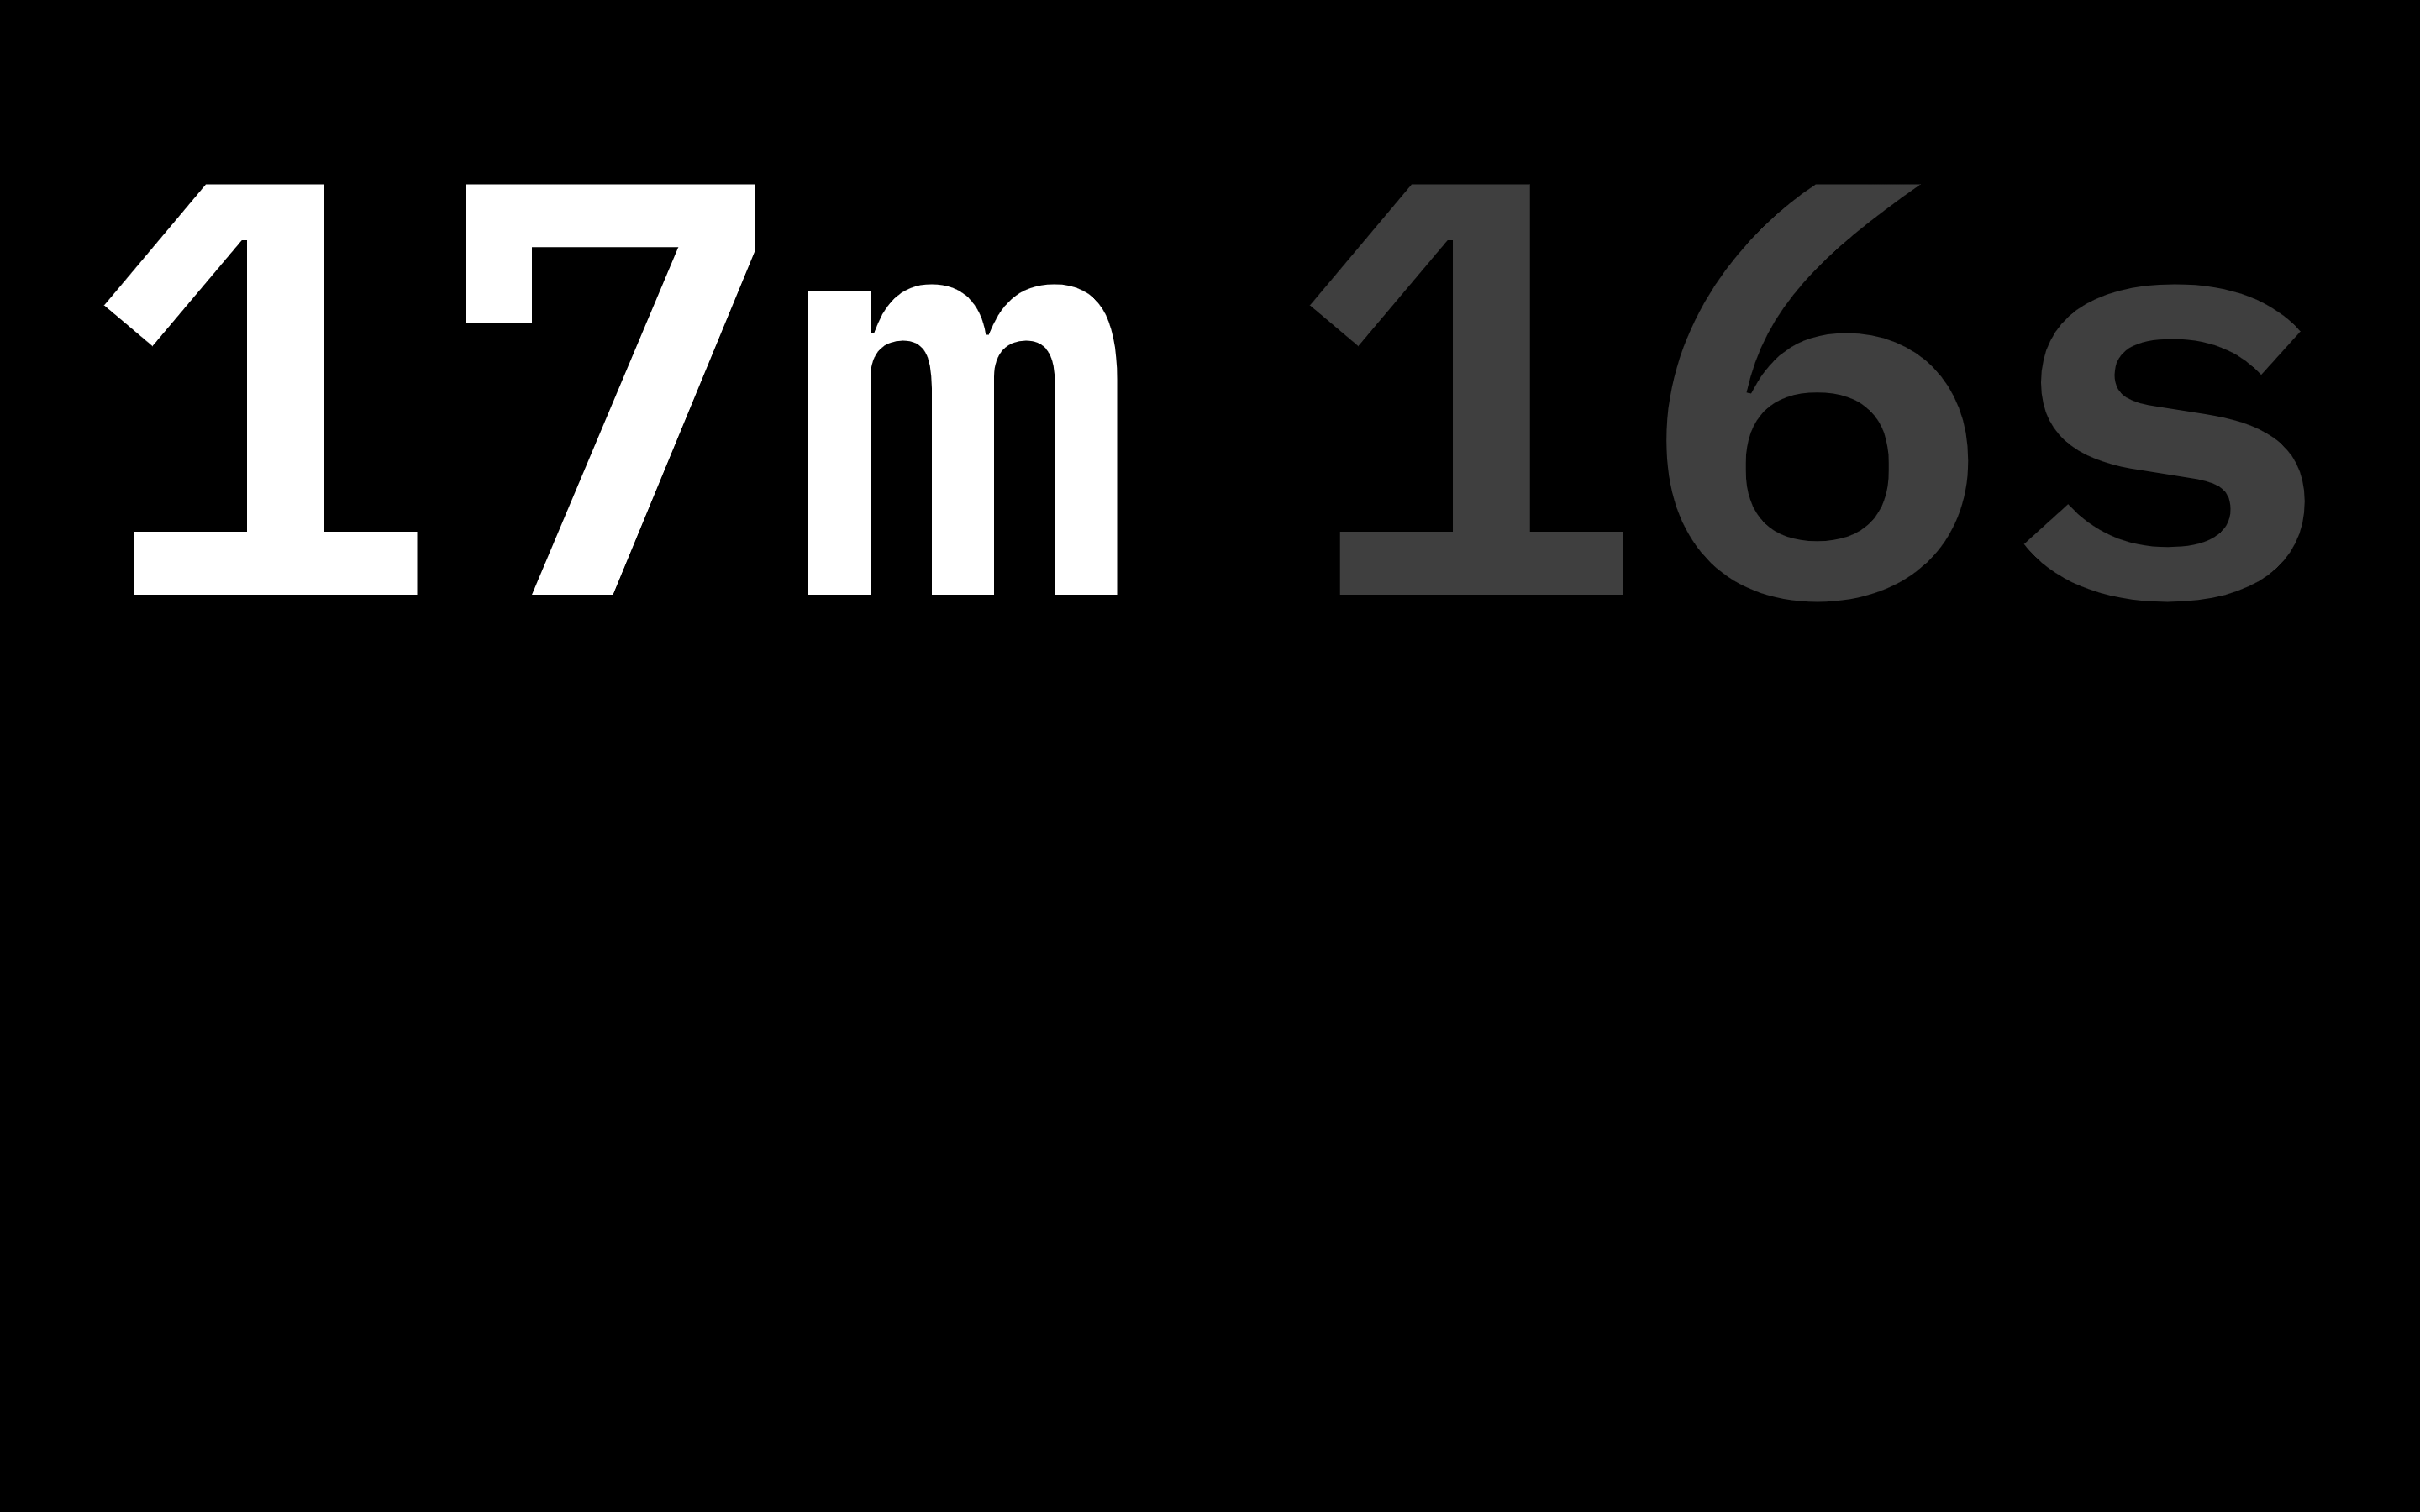
When I started this project I immediately began to think about the right typeface. Choosing a typeface with unambiguous numbers was important, and I chose IBM Plex for its zeros. Plex is open-source, and comes in sans, condensed, serif, and monospace variants. It even has two zeros, one with a dot and one with a slash.
Its versatility is most obvious in “interviewer mode”, where the timer is displayed in the monospace variant, and the message in condensed. React Textfit and the condensed variant work together to maximize the size of any message.


Another design consideration was animation. Every moving part of this app is animated. Notes cascade down as they’re entered, and modals squeeze in and fade out. Animations give an otherwise plain interface a premium, reliable feeling — they help users understand where off-screen objects are, like older notes.
I also wanted to learn to use React Spring. Notes animate with the Trail component, and modals with Transition. React Spring at first felt very unfamiliar, but it eventually clicked, and enabled a complexity of state animation that wouldn’t have otherwise been possible.
A modal transition and a trailing notes animation.
A transition between two elements.
Aspirations
The next step for this project, and its namesake, is to implement reliable linear timecode transmission, or LTC. Linear timecode is audio that sounds like this (volume warning.) If you take a cable like this, plug the headphone jack into a laptop, plug the BNC jack into a compatible camera, and play that audio, the camera will begin recording.
This technology exists to sync multiple recording devices, like microphones and cameras. Playing LTC from this app, and controlling all the cameras on set, would perfectly sync the notes with the video.
Try It Live
The code for this project is on my GitHub, and you can use it on Netlify here.